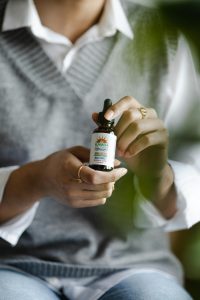
Indoor photography lighting, whether from natural sources like sunlight streaming through windows or artificial sources such as LED panels and studio strobes, plays a crucial role in capturing compelling images.
Natural light offers softness and ambiance, influenced by the time of day and weather conditions. Conversely, artificial lighting provides consistency and control, allowing photographers to sculpt and precisely enhance subjects’ understanding. Mastering both sources is essential for achieving professional-quality indoor photographs.

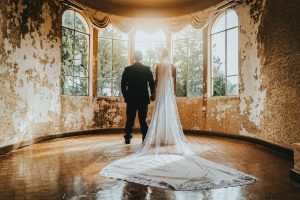
Various Sources of Light for Indoor Photography
Various light sources for indoor photography include natural light from windows and skylights. Natural light provides soft, diffused illumination that creates a natural ambiance. Artificial options range from incandescent bulbs, offering warm, cozy tones suitable for ambient settings, to fluorescent lights known for their relaxed, even output and energy efficiency.
LEDs are versatile, durable, and have adjustable color temperatures. Halogen lights emit intense, white light often used in professional settings, while strobe lights offer powerful bursts of controlled light for studio setups. Softboxes and umbrellas are modifiers that effectively soften and diffuse artificial light sources.
Characteristics of Natural Lighting
Natural lighting has distinct characteristics that make it desirable for photography:
- Softness: Low lighting produces minimal harsh contrast and a general light pattern, especially on day impressions or near windows.
- Color Temperature: It is isothermal but changes throughout the day. It provides warm colors during the golden hour images and more excellent colors during the midday.
- Directionality: It differs with the sun’s position and duration; there is variation in the kind of natural light and shadowing that follows this light.
- Intensity: It changes with the weather, whether in the morning or evening or in winter versus summer, and you must try to get to the right setting.
- Natural Look: It contributes to the natural and aesthetically pleasing looks.
How can you Prepare for Natural Light Photography Indoors?
Several steps are followed to maximize the available light and capture tremendous and exciting photos during a natural light photoshoot indoors.
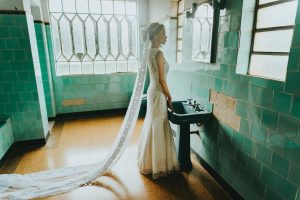
- Assess Light Sources: First, you must define which parts of your space correlate with windows and skylights. Look at how they are oriented. North-facing windows are ideal for diffuse and gentle light while south-facing windows will afford high-intensity sunshine.
- Choose the Right Time: When planning the time and place for the indoor photo shoot, consider the favorable hours of the day regarding the light. In most cases, the best light, or the so-called golden hour, falls during the morning and towards evening, when the light is much softer and diffused.
- Control Light Intensity: Employ sheer curtains, blinds, or diffusers to help minimize direct sunlight lighting and shadows. This process of diffusion ensures an even spread of light over your subject.
- Position Your Subject: Position your subjects close to a window so they are adequately illuminated by natural light when necessary. Move to different corners to try various distances to see which gives the best illumination.
- Use Reflectors: Use reflectors to illuminate the shadows with light that reflects the subject to the actual exposure. You better use special reflectors or Reflective material available at home, such as white foam board or even aluminum foil.
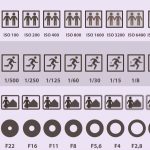
- Adjust Camera Settings: As a rule, you should always set your ISOs low and your f-stops high, primarily wide, to allow maximum light into the lens camera. Go to the tools tab and lock the white balance to mimic the natural light source for proper color balance. Learn details about camera settings for indoor.
- Stabilize Your Camera: Use a tripod when shooting at night to avoid blurry pictures caused by shaky hands and a slow shutter speed. This will help prevent instances of blurred images and achieve clear photos instead.
- Test Shots and Adjustments: Adjust your shot and light setting. Take a few test shots to help you decide how the light plays with your subject. Then, fine-tune settings and positioning to accomplish your goal.
Tools Required to Utilise Maximum Natural Light
- Reflectors: Rebound light to erase shadows that may be left behind or to provide uniform lighting.
- Diffusers: It protects against direct sunlight with curtains, blinds, semi-opaque boar, and extra glass thickness.
- Tripod: It aims to give the camera optimum focus and light, especially when shooting in the evening.
- White Balance Card: Makes proper white balance settings to help get the right color tones.
- Window Cleaning Supplies: Clean windows allow the most inspection light to get through.
- Light Meters: Measure a brighter object for better adjustment of capturing camera settings.
Tips for Indoor Photography with Natural Sources of Light
- When the light is soft and sufficient, it is best to position your subject near window panes.
- Shooting in the morning and late afternoon is recommended to capture excellent shots.
- Reflect highlight to decrease the shadows to get balance in the light.
- Employ blinds or shades to minimize direct sunlight and ensure marginal light filtering.
- The ISO should be set at its lowest, the aperture to its broadest, and the white balance to be correct.
- It is high quality and can produce a clear image, especially in the dark.
- Ensure that all attention is on the subject.
Techniques for Compelling Indoor Photography Using Natural Light
- Side Lighting: Angle your subject to the side of the window to add shape and feel through subtle features with blurred lights.
- Backlighting: Use reflectors to balance the effect this sets on the front.
- Flat Lighting: Turn your subject towards the window so they face it. The window offers natural light that doesn’t cast shadows.
- Use of Reflectors: To avoid using high ISOs and dark areas, try using reflectors to illuminate those areas.
- Window as Softbox: Handle low-level window lights like natural soft boxes, giving even diffused light.
- White Balance Adjustment: Manually set the white balance of the camera to have the camera match the white balance to the natural light.
- Exposure Compensation: For some photos, you need to react by shifting exposure settings so that some parts are not too washed out when there is a backlight.
- Clean Windows: Be sure your windows are transparent to allow as much light as possible and illuminate your subject without creating strange shadows or spots.
Challenges and Solutions in Indoor Photography with Natural Light
- Low Light Levels: Employing wide apertures (small f-stop numbers) to shed more light is advisable.
- Harsh Shadows: Try using reflectors or white paint to redirect light in underlit areas and diffusers, like curtains on the windows, to give a softer light.
- Changing Light Conditions: Hold for spots using the manual mode to help you control the exposure settings.
- Color Casts from Surroundings: Avoid using colors particular to walls or objects that may reflect on the subject.
- Limited Light Direction Control: Light direction and shadow placement can be manipulated using furniture or portable backgrounds if areas cannot be blacked out.
- Reflections and Glare: Try to reposition your camera, or the object will cause a carry-out glare so that it does not reflect light.
- Depth of Field Challenges: Use a wide aperture to capture portraits with low depth of field and a narrower aperture for scenes where all objects must be distinguished.
- Unpredictable Weather: Work in window light regardless of the weather outside because while it may not be direct sunlight, it has a soft and even quality.
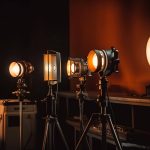
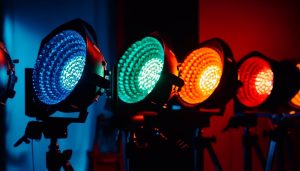
Characteristics of Artificial Lighting:
- Color Temperature: It can be changed to dim and align with nature or provided with a more incredible blue or warm yellow shade.
- Intensity: Smooth and flexible, it can be positioned to provide lighting for various environments and as required by creative works.
- Directionality: Ensures that light is directed most suitably and that features, highlights, or shadows are built up in the desired way.
- Versatility: It can be general, including lights that stay on, like LED or fluorescent, or specific kinds of lights that flash, like speed lights and strobes that are better for different types of photography.
- Stability: Weather conditions do not significantly influence performance since it is designed for indoor shooting.
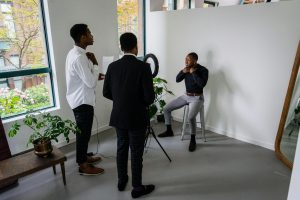
How can you prepare for artificial light photography indoors?
To prepare for artificial light photography indoors, follow these essential steps:
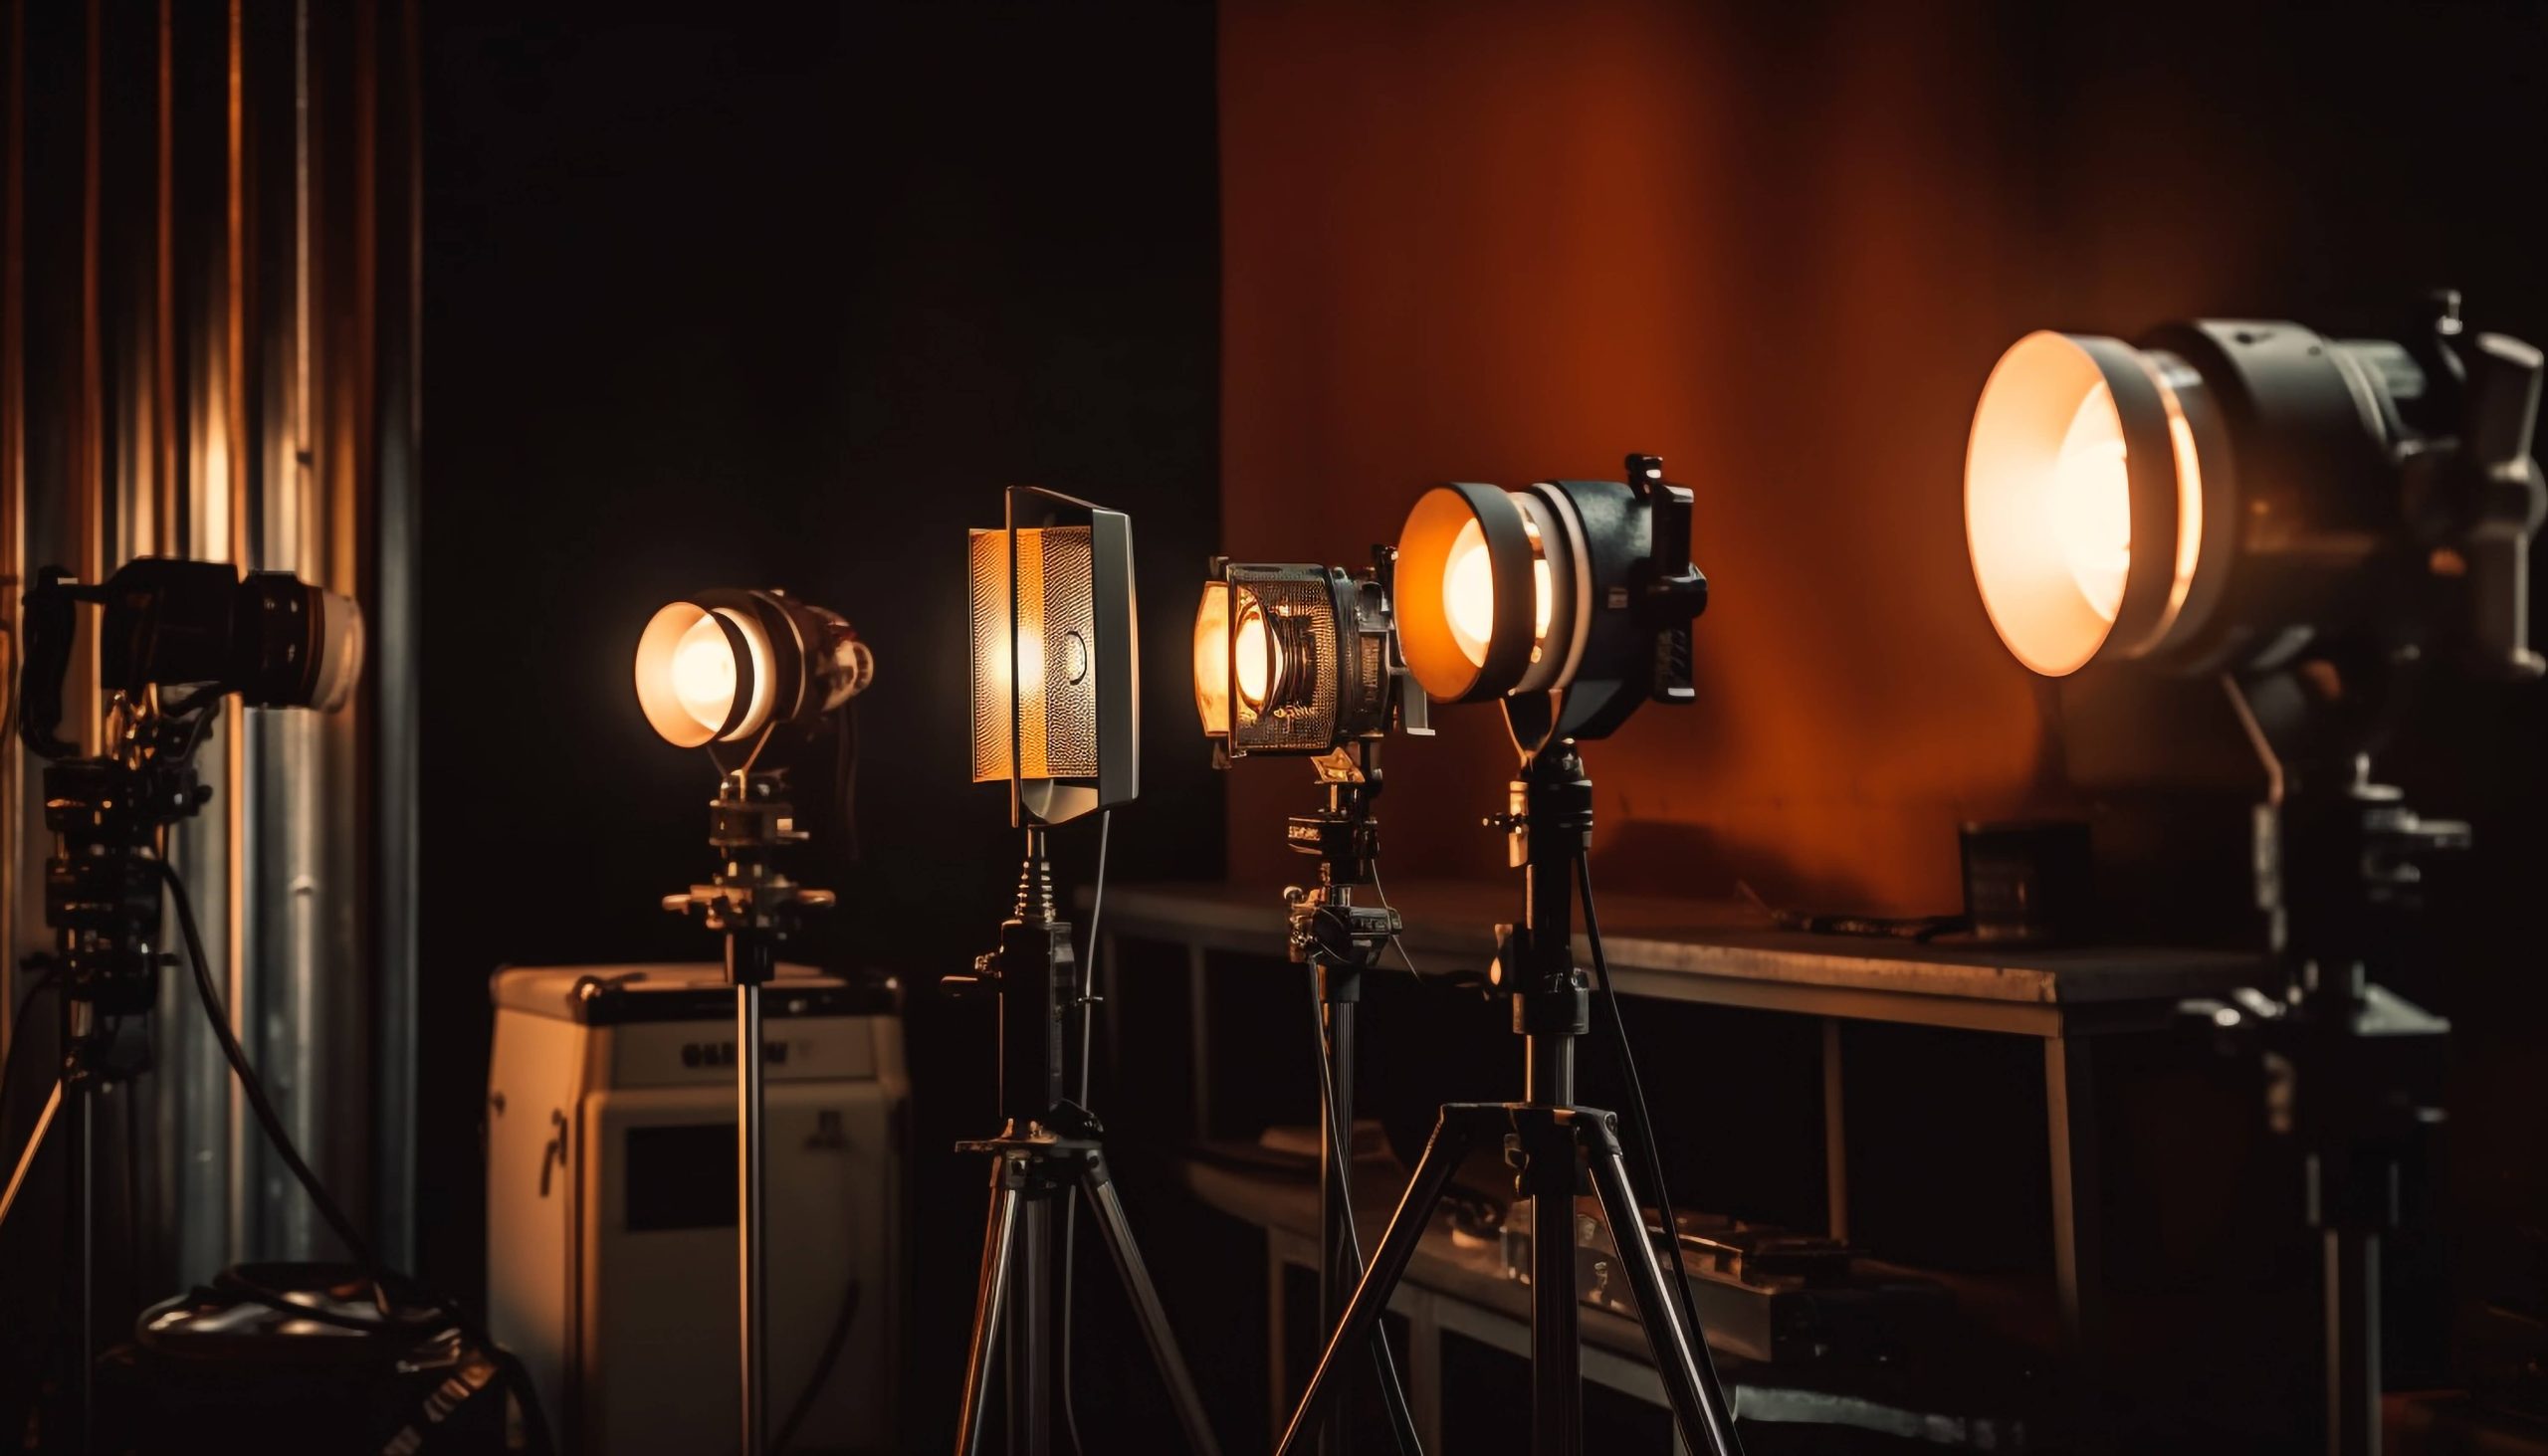
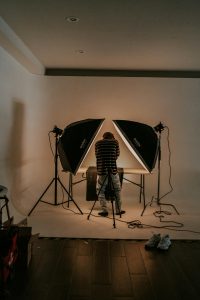
- Choose the Right Lighting Equipment: Depending on the type of photography or videography you are doing, choose the correct artificial light, such as continuous LED panels, fluorescent tubes or bulbs, or a single flash/strobe.
- Understand Color Temperature: Ensure all lighting equipment you use has the correct color temperature (the norm is Kelvin scale). You can add color correction to remove dominant hues and set proper white balance.
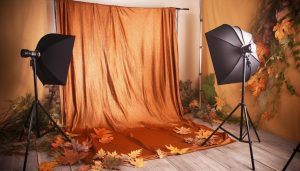
- Set Up Light Modifiers: Softboxes, umbrellas, or reflectors allow for more thorough lighting control, reducing complex, sharp creases and ensuring smooth distribution across the area.
- Positioning and Angles: To set up the best light for your subject, test the angles and distances at which you capture the image.
- Test and Adjust: If you need clarification on your lighting arrangement, you should take practice shots to adjust the settings appropriately.
- Stabilize Your Camera: Stable support for the camera is necessary to avoid shaking as much as possible, especially in conditions with poor lighting. This ensures a clear picture.
- Consider Background and Composition: Note how this influences the background of the artificial lighting. While being moderated, make sure it supports your focus or topic.
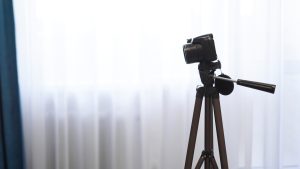
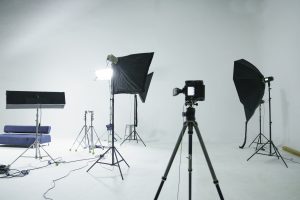
Tools Required for Artificial Light Photography
Tools essential for artificial light photography indoors include:
- Light Sources: LED panels, fluorescent lighting, or flashes/strobes can be used according to the desired lighting conditions.
- Light Modifiers: Softboxes, umbrellas, or diffusers help soften the light and control its shape to minimize the appearance of shadows.
- Light Stands and Tripods: The light should be stable and adjustable while accurately positioning if required.
- Reflectors and Bounce Cards: Use light to eliminate faced and illumination indicators or to establish stress points.
- Color Gels and Filters: Change the hue to tone down or amplify certain tones with colored gel or filters.
- Remote Triggers: Control multiple lights simultaneously to conduct complex lighting scenarios.
- Light Meters: When taking outdoor photographs, check the exposure for the correct setting.
- Backdrop and Background Supports: Establish appropriate backgrounds and frameworks for constructive material creations for diverse compositions.
Tips for Indoor Photography with Artificial Light
- Based on your subject and potential end use, decide whether your light source should be continuous (LED, fluorescent) or pulsed (flash/strobe).
- Use Light Modifiers, such as Softboxes, umbrellas, or diffusers.
- Adjust luminosity to bring out different shades and tones.
- Sensitivity is ideally set according to your artificial light for natural colors.
- Aim to reduce the image’s brightness since the logo turned too bright.
- Employ background lights or backlighting to create a free space between the subjects and the background.
- Experiment with different setups to educate yourself on artificial lighting scenarios through various indoor shoots.
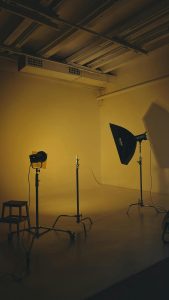
Techniques for Indoor Photography Using Artificial Light
Indoor photography with artificial light requires mastering these techniques. Here are some methods you must follow:
- Critical Light Placement: Set up your key light source (softbox or strobe) to accentuate the illumination on the model.
- Fill Light: A secondary light or reflector must illuminate the subject’s shadowed areas properly.
- Background Lighting: If the subject is touching a surface, adding lights behind or around the subject helps separate it from the background.
- Light Modifiers: Use softboxes, umbrellas, or grids with gel covers to modify the light’s quality, intensity, and direction.
- Color Temperature Control: Apply gels intended to match or to vary from the used lighting color.
- Shadow Management: Adjusting the angles of light in scenes is also recommended to avoid working with shadows and to shape the subjects when necessary.
- Continuous vs. Flash: Know where to apply continuous lighting, especially when shooting a scene for videography or a long shot, instead of flashes, where brief and intense lighting is needed.
Challenges & Solutions in Indoor Photography with Artificial Lighting
- Harsh Shadows: If lighting is unavoidable, avoid strong light sources or light blockers to give a natural and even tone.
- Color Casts: White balance or use color gels to tackle abnormality.
- Reflections and Glare: Adjust the light positions and use polarisers to decrease reflections.
- Power Management: Ensure it does not exceed or is too low, as this can destroy the picture’s walls, people, and other features.
- Background Management: Employ flags or backdrops to minimize light that illuminates the background to effect subject separation.

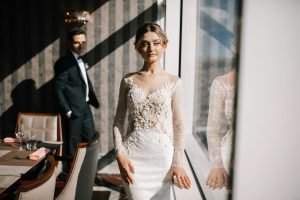
Natural Light vs. Artificial Light: Which One Is Right for You?
In brief, using natural or artificial light to take pictures depends on the shooting situation and the desired resultsor’s preferences.
Natural Light
Perfect for amateur photographers who want soft, delicate washes of light. Natural light sources differ at different times of the day. Low light during early morning and late evening exposes the skin’s luminosity and softens skin wrinkles. It is best suited to photographers who do not sync their shots to tighten up or make them look more polished, such as portrait or lifestyle photography.
Artificial Light
It supports photographers in controlling or molding the light they use according to their shots by implementing soft boxes, flash, or continuous LED lights. Natural light is best for landscapes or outdoor photoshoots with unpredictable lighting, while artificial light suits studio shots or commercial photoshoots requiring some control over the lighting factor. It is also suitable for developing dramatic techniques and effects, capturing even a small detail, or shooting at night.
Conclusion
Indoor photography lighting offers artificial and natural options with distinct advantages and challenges. Natural light provides softness and authenticity but varies with time and weather. Artificial light offers consistency and control but may require more setup and adjustment. Photographers often combine these sources to leverage their strengths, achieving diverse and compelling visual narratives indoors.