The picture drop shadow effect is excellent for digital photographs. This method can enhance the visual beauty of natural scenes. The principal engagement is a product photograph.
For creating shadow, a new layer is created, and the image is placed high above the bottom layer. The resolution is increased to 72 PPI, and a new photo file is created in order to add a drop shadow.
In the shot, the drop shadow effect is used to create the shadow. It is challenging to select the proper shadow orientation. For the alignment to look professional and realistic, it is typically left to the viewer to make the necessary corrections.
The quality of the drop shadow effect is determined by how the shadow is mixed with the object. The shadow cannot appear to be separate from the object in a natural drop shadow (DS) effect.
It has already been proven that when correctly performed, it can give the picture a magical appeal.
Drop shadows are more important for online business. This article is about How to Make a Shadow: A Step-By-Step Guide. Keep reading to know in detail!
Table of Contents
Toggle What is a drop shadow?
A drop shadow is a Photoshop tool that can give an image a professional appearance. It is the procedure for adding shadows to photographs. The drop shadow technique is preferred for creating a shadow effect on a product that has an imprecise or faint shadow effect.
Additionally, it is quite useful when the background needs to change in order to preserve the shadow’s quality. Accepting this current technology helps to do amazing work for the client. It is one method of enhancing the visual appeal of the images for their intended audience.
The necessity of shadowing any product
changing the product’s look
To understand the efficacy of shadowing in product photography, I am starting with an example. Look at the image of the product below:
[image-1]
There is unquestionably something missing from the picture: there is nothing to give the picture a sense of space. The sunglasses are aimlessly drifting on the white background. You can’t tell it’s a bad image, but there is certainly room for improvement.
You can add a shadow to this image. When you apply shadow correctly, it assists in drawing consumers’ attention. It enhances consumer awareness of your brand while encouraging product sales.
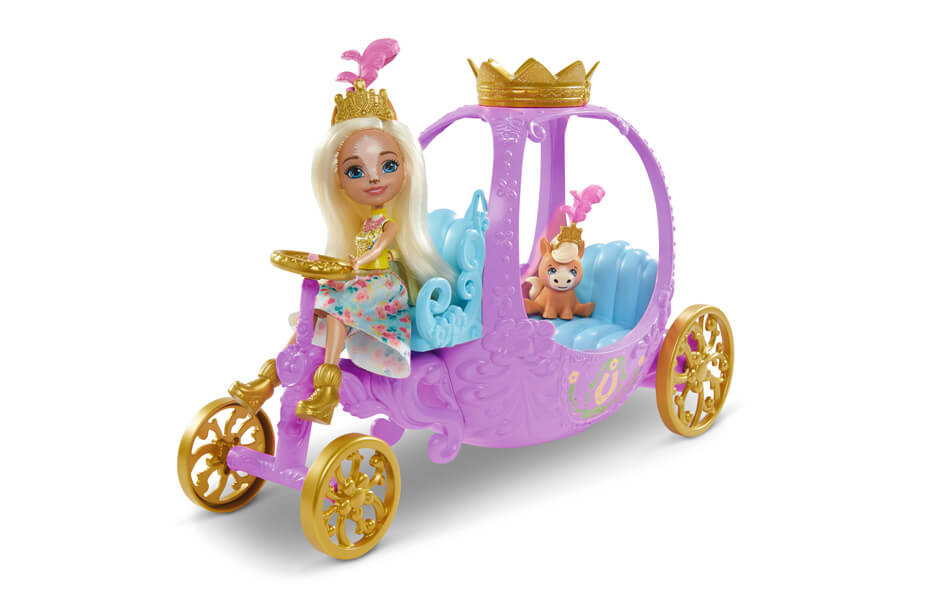
Increase brand recognition
Ideally, your product photos should be recognized as brand images. Being consistent with how you present your product photographs on your website is essential to establishing that degree of brand recognition. Adding to that, how you employ shadows is a key component of doing so.
[image-2]
Don’t worry if you aren’t employing shadowing right now. It doesn’t necessarily mean that your pictures are poor. By using shadowing effects, you may also quickly and significantly improve your brand.
Additionally, even a small enhancement to your product photographs can greatly increase sales, which has a positive effect on your company.
Boosting Your Sales
When you use shadows in your product photography, the image gains a feeling of scale, context, and reality. Its added realism can actually make a significant difference in how well your product photographs increase sales for your company.
According to research, people use visuals to evaluate products as well as a brand’s credibility. Your clients will consider your brand as being more trustworthy with the higher quality photographs you present to them. This enhances the possibility that they will make a purchase from you.
The Advantages of Shadow Creation Service
A photograph’s lighting and shadow are two of its key elements. Poor lighting prevents you from taking better pictures. And without shadow, you can’t give your image depth or make it look genuine. Therefore, the advantages of a shadow-making service are comparable to those of photographic lighting. Let’s discuss some advantages of making a shadow.
An image that looks natural: People only buy a thing in an e-commerce store if its appearance convinces them. You may create a natural-looking image with the help of shadow, which also enhances its appeal.
Grab the attention: For your company, accurate shadow production in Photoshop helps to grab the attention of online buyers. Experts that know how to create shadows utilizing the right angles may therefore create the most attention-grabbing product images.
More Attractive: E-commerce products should be attractive at first glance. You may increase conversion rates by using shadows to make your product photographs more appealing.
High-quality picture: There is no doubt that the shadow effect aids in the creation of high-quality pictures. A lack of shadow, or a bad shadow, can spoil your image and ruin all impressions. As a result, if you use shadow properly, it will give your photograph a unique quality.
Covering Up Distractions: Sometimes you have the ideal shadow, but pictures include background distractions. Therefore, when professionals crop the background, the shadow is also cropped. A solid background should be added before casting any shadows. If you add the proper level of shadow after adding the solid backdrop, the image will eliminate its distractions and become an exceptional piece.
Making a Shadow: A Step-By-Step Guide
Your product’s image may be more professional by using the proper use of shadows. It helps the product’s natural and realistic appearance by creating a sense of shape and depth. Here is a description of how to make a shadow of any product:
Step 1: Open the photoshop
You have to select a high-resolution image and open the image in Photoshop.
[image-3]
Step 2: Create the layer
Select your “Background” layer in the “Layers” panel on the right side of the Photoshop window and duplicate it. You can utilize the Ctrl + J keyboard shortcut. “Background copy” will be visible. Because of this, you can edit the duplicate layer without being concerned about inadvertently destroying or distorting your original image.
[image-4]
Step 3: Create a path
To eliminate the backdrop, make a path around your product in “Background copy.” By carefully examining the “Layers” tab, you can see that the backdrop has been eliminated. The top layer of your product should have a background with a grey and white checkerboard pattern. That is Photoshop’s method of displaying transparency. You can also choose to conceal the original backdrop layers.
[image-5]
Step 4: Duplicate Layers
Additionally, you must duplicate this layer. Give this layer a name like “Product.” Additionally, I’d advise renaming the “Background copy” layer to “Shadow.”
[image-6]
Step 5: Choose the shadow layer
Press Ctrl + T or Command + T to pick the transform tool after choosing your “Shadow” layer. Click the control point in the top-middle while holding down the Ctrl or Command key. If required, reposition the altered image by clicking and dragging it with the move tool.
[image-7]
Step 6: Lock the layer
Click the “Lock transparent pixels” button next to the phrase “Lock” in the Layers panel. This will guarantee that the subsequent action only affects the transformation you just performed.
[image-8]
Step 7: Create Gradient
Choose the “Gradient” tool, then utilize the drop-down option located next to the gradient bar at the Photoshop window’s top. Additionally, choose “Linear Gradient” from the menu bar icons.
[image-9]
Step 8: Apply the gradient
Simply click at the base of the shadow closest to your object and drag towards the far end of the shadow to apply the gradient. Your altered image should now have a smooth gradient, but it still won’t appear natural. Now let’s tidy things up.
Next, you have to unlock the layer that you did in Step 7 to unlock transparent pixels.
[image-10]
Step 9: Blend mode
Use the drop-down menu directly above this button to select “Multiply” as the blend mode.
[image-11]
Step 10: Make the Filter
In the main menu of Photoshop, click “Filter,” then “Blur,” and “Gaussian Blur.” Choose a blur radius in pixels.
[image-12]
Now, try to move the shadow in accordance with the light source. Additionally, you may change the opacity of the shadow by using the ‘Opacity’ option in the ‘Layers’ panel. The shadow will become more subtle.
Final Thoughts
Nowadays, realistic product images create an emotional connection between consumers. You can make your photo natural by using a drop shadow on your photograph. In an online businesse, it is frequently required to employ a drop shadow on the company’s goods for your webpage.
Today, no one wants to see any flat product image on an online platform. It does not appear organic. Visitors don’t feel interested in buying your online products.
That’s where applying a shadow in Photoshop will aid in increasing sales and grabbing the attention of viewers.
We have incredibly advanced technology today. It is convenient to convert a flat product image into a three-dimensional image with a realistic shadow.
For an e-commerce company, any small detail pushes the customer a little more to the point where the customer feels purchasing urge.
If you are an e-commerce business owner, don’t be late in adding to any product image with a realistic, fantastic drop shadow. You may learn how to make a shadow with a step-by-step guide by reading this article. You can choose our OverNight graphics to get a better shadow-making service for your business.